



Key Takeaways
- Choosing the right gutter guard type (screen, foam, or micromesh) makes a measurable difference in long-term performance.
- Skipping a proper assessment before installation is the most common source of early failures.
- Most Capital Region homeowners benefit from professional installation, especially on multi-story homes or complex rooflines.
- Micromesh gutter guards offer the strongest debris filtration and are well-suited to Albany’s mix of heavy leaf fall and winter ice.
- Getting a free estimate before committing lets you compare gutter installation options without pressure.
What you need before you start
Before touching a ladder or ordering materials, take stock of what your home actually needs. Not every gutter installation project is the same. A ranch-style home in Clifton Park has different demands than a Victorian in Albany’s Center Square neighborhood with multiple roof pitches and valleys.
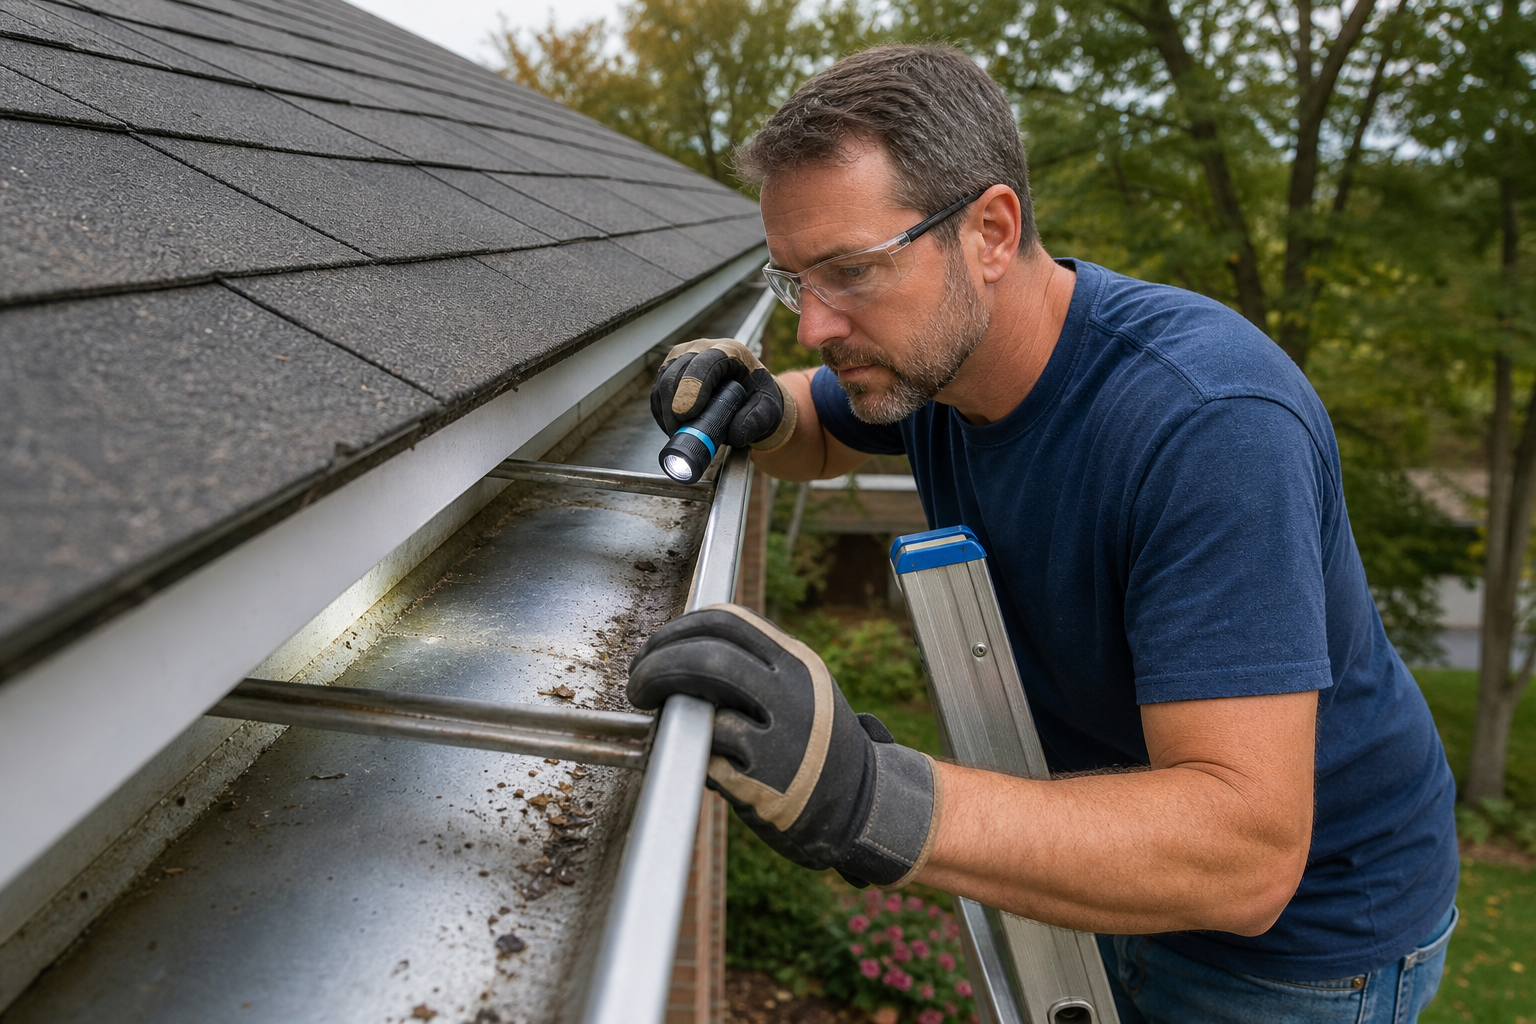
Start by identifying whether you’re adding guards to existing gutters, replacing the entire system, or installing from scratch. Each path requires different tools, different materials, and a different level of commitment.
Tools and materials checklist
For a standard gutter guard installation on a single-story home, here’s what a prepared homeowner typically needs:
| Item | Purpose |
|---|---|
| Extension ladder (rated for your weight) | Safe roof-line access |
| Work gloves and safety glasses | Personal protection |
| Tape measure | Accurate guard panel sizing |
| Tin snips or hacksaw | Cutting guard panels to length |
| Gutter cleaning tools | Clearing debris before install |
| Gutter guard panels (correct gutter width) | The product itself |
| Screws or clips (per manufacturer spec) | Securing panels in place |
| Garden hose | Post-install flow test |
For full seamless gutter installation, the tool list expands significantly to include gutter coil stock, a seamless gutter machine, end cap crimpers, and downspout hardware. That’s why most homeowners look up gutter installation near me and hire a professional crew for complete replacements rather than sourcing that equipment themselves.
Safety and prep considerations
Working at height is the leading cause of DIY home improvement injuries. Use a ladder stabilizer whenever possible, never overreach, and have someone nearby when working on a second story. In the Capital Region, also check the weather forecast.
Wet leaves and morning frost on rooflines make surfaces more slippery than they look.
Before you install anything, clean your gutters thoroughly. Guards installed over clogged gutters trap debris and accelerate rot. If your gutters are already showing rust, sagging, or separated seams, review your gutter repair options before layering guards on top of a failing system.
Step-by-step walkthrough
This walkthrough applies to gutter guard installation specifically. If you’re doing a full replacement, the process involves additional steps. See the seamless gutter installation guide for Capital Region homeowners for a deeper dive on that path.
Assess the current situation
Walk the perimeter of your home and inspect every linear foot of gutter. Look for:
- Visible rust spots or holes
- Separation at joints or corners
- Sagging sections (indicates improper slope or hanger failure)
- Downspouts that are blocked or disconnected
- Evidence of overflow staining on fascia boards
Your assessment determines whether guards are the right next step or whether a full gutter replacement makes more sense first. Installing guards on gutters that already have structural problems only delays the inevitable.
Prepare the work area
Once you’ve confirmed the gutters are in good shape, clean them out completely. Remove leaves, shingle grit, and any standing debris. Flush with a garden hose to verify water flows freely toward each downspout at the correct pitch (roughly 1/4 inch of drop per 10 feet of run is the standard slope for proper drainage).
Check that all hangers are tight and fascia boards are solid. If you find soft wood or areas of rot behind the gutters, address those before installing. Guards sealed against a rotting fascia will accelerate moisture damage, not prevent it.
Execute the core work
With clean, well-pitched gutters confirmed, you’re ready to install. The process varies by guard type:
Screen and reverse-curve guards typically slide under the first course of shingles and snap or clip to the front lip of the gutter. Cut panels to length with tin snips and overlap joints slightly to avoid gaps.
Micromesh gutter guards are installed similarly but require closer attention to alignment. The mesh surface needs to sit flush so debris sheds off rather than accumulating. According to the step-by-step gutter guard installation guide for Capital Region homeowners, proper alignment and secure fastening at each panel joint are critical for long-term performance.
Work systematically from one end of each run to the other. Cut each panel at the correct angle around downspout openings and inside corners. Do not force panels to fit.
A poor fit creates gaps that defeat the purpose entirely.
Inspect quality and wrap up
Run your garden hose along the roofline above the installed guards. Watch how water behaves. It should flow through the mesh or perforations and into the gutter channel.
If water is sheeting over the front edge instead of entering the gutter, your guard pitch or the gutter’s slope needs adjustment.
Check every joint and end cap for secure fit. Walk the full perimeter again from ground level and look for any sections that appear lifted, misaligned, or inconsistently seated.
Common mistakes to avoid
Even careful DIYers run into avoidable problems. These three are the most common.
Skipping prep or planning steps
Jumping straight to installation without assessing gutter condition or cleaning thoroughly is the most consistent source of callbacks and failures. Guards trap whatever is underneath them. A gutter that wasn’t fully flushed before installation will develop clogs within one season.
Cutting corners on quality checks
Using the wrong guard type for your tree coverage is a planning mistake that shows up later. Pine needles, maple seeds, and fine shingle grit all behave differently than large leaves. Micromesh guards handle a wider range of debris sizes, which is why they perform better in wooded suburban neighborhoods common across Albany, Saratoga Springs, and Schenectady.
Rushing the final inspection
The water test takes 10 minutes. Skipping it means discovering leaks, overflow points, or improper flow during the next heavy rainstorm rather than during a controlled check. Do the test before putting away your tools.
Timeline, cost, and when to call a pro

Typical project timeline
| Project Type | Typical Duration |
|---|---|
| DIY guard install (single story) | 4, 8 hours |
| DIY guard install (two story) | 1, 2 days |
| Pro guard installation | 2, 6 hours |
| Full seamless gutter replacement | 1 day (pro crew) |
Budget ranges and cost drivers
Gutter guard installation options range widely in cost depending on material and coverage area. Basic screen guards run roughly $0.50 to $1.50 per linear foot for materials. Micromesh systems cost more upfront, typically in the $2 to $4 per linear foot range for materials alone, but require far less maintenance over time.
For full-service professional installation, labor adds to those figures. Factors that affect total cost include roof pitch, home height, linear footage, and whether any gutter repairs are needed first. You can review typical ranges at the average cost of gutter installation page for a realistic starting point.
Signs you need professional help
Call a professional when:
- Your home is two or more stories
- Your roof has multiple valleys or complex angles
- You’ve found structural damage to fascia or soffit during assessment
- Guards have failed twice before under DIY installation
- You’re considering a full seamless gutter replacement rather than just adding guards
For homeowners searching gutter installation near me, working with a local crew who knows Capital Region weather patterns, typical debris loads, and regional home styles makes a real difference in both installation quality and long-term results.
Maintenance and long-term care
Routine checks
Even the best gutter guards need periodic attention. Check your system twice a year, ideally in late spring and after peak fall leaf drop. Look for debris buildup on top of the guard surface, disconnected panels, and downspouts running clear.
Flush downspouts annually with a hose to confirm no buildup has snuck through. A quick inspection after major storms is also worth the 15 minutes it takes.
Extending results over time
Trim tree branches that overhang your roofline. Even micromesh guards perform better when they’re not directly under a maple canopy dropping seeds every spring. Keep your fascia boards painted and in good repair so gutters stay securely anchored.
If you notice any section sagging or separating from the fascia, address it promptly. Small alignment problems compound over time, especially under the weight of ice in a Capital Region winter. The when to repair, clean, add guards, or replace seamless gutters guide is a helpful resource for making that call confidently.
Conclusion and next steps
Quick recap
Choosing the right gutter installation options comes down to honest assessment, proper prep, the right guard type for your specific debris challenge, and a thorough final inspection. DIY is realistic for single-story homes with straightforward rooflines. Multi-story homes, complex pitches, or existing structural damage all point toward professional installation.
Recommended next actions
Start with an honest walk-around of your current gutters. If they’re in good shape, use this guide to move forward with guard installation. If you find damage, sagging, or rot, get a professional assessment before spending money on guards.
Frequently Asked Questions
What are the main gutter installation options for homeowners?
The primary gutter installation options are sectional gutters, seamless gutters, and gutters with integrated guard systems. Sectional gutters come in pre-cut lengths joined at seams, making them easier to DIY but more prone to leaks over time. Seamless gutters are fabricated on-site to match your exact roofline with no mid-run joints, which significantly reduces leak risk.
Adding a gutter guard system, particularly micromesh, is a separate decision layered on top of whichever gutter type you choose.
For most Capital Region homeowners, seamless aluminum gutters paired with micromesh gutter guards offer the best long-term value given Albany’s combination of heavy leaf fall, spring pollen, and winter ice loading.
How long does a professional gutter guard installation take?
On a typical single-story home, a professional crew can complete a gutter guard installation in two to six hours. Larger homes, multi-story properties, or homes with complex rooflines may require a full day. Full seamless gutter replacement with guards generally takes one day for a professional two-person crew.
DIY installations on the same homes typically take two to three times longer due to setup, learning curve, and extra care at heights.
What type of gutter guard works best in Albany, NY?
Micromesh gutter guards consistently outperform screen, foam, and reverse-curve options in climates like Albany’s. The fine mesh blocks pine needles, maple seeds, and shingle grit that larger-opening guards allow through. They also handle ice and snow loading better than foam inserts, which can freeze solid and block water flow entirely.
If you’re comparing products, the micromesh gutter guards installation page walks through how they work and why they suit Capital Region conditions specifically.
Can I install gutter guards myself, or should I hire a professional?
DIY installation is realistic for single-story homes with straightforward, accessible rooflines and gutters that are already in good condition. If your home is two or more stories, has multiple roof pitches, or if your gutters need repairs first, professional installation is the safer and more cost-effective choice. Improper installation is the most common reason guards fail early, and redoing the work costs more than getting it right the first time.
Many homeowners who start researching gutter installation near me end up hiring a local crew after realizing the ladder work and material handling is more involved than it looks from the ground.
How much does gutter guard installation cost in the Capital Region?
Costs vary based on linear footage, guard type, and whether any gutter repair or replacement work is needed first. Basic screen guards run roughly $0.50 to $1.50 per linear foot for materials. Mid-range aluminum micromesh systems typically fall in the $2 to $4 per linear foot range for materials, with professional labor adding to the total. Full seamless gutter installation with guards will cost more but eliminates sectional joints and delivers a longer-lasting system.
For an accurate number tailored to your home, get a free estimate rather than relying on averages. Urban Seamless Gutters provides no-obligation quotes across Albany, Schenectady, Saratoga Springs, and Clifton Park. You can also review general pricing benchmarks on the average cost of gutter installation page before your consultation.
How often should gutter guards be inspected after installation?
Plan on checking your gutter guards twice a year, in late spring and after peak fall leaf drop. Even high-quality micromesh guards can accumulate surface debris like pine needles or shingle grit that slows water entry if left unchecked. A quick visual inspection from ground level and a brief hose flush of each downspout takes about 15 to 20 minutes per inspection and catches small issues before they become expensive repairs.
After major storms, particularly heavy wind events or significant ice accumulation, a quick walk around your home is worth doing. Ice dams and wind can dislodge panels at corners or downspout openings even on properly installed systems.
 Ready for a free quote? Share a few details with Urban Seamless Gutters, we’ll help you choose the right next step. Get a Free Quote |